Anyone who’s followed the Mountainfeet Facebook page for enough years will probably have picked up on my brand loyalty to Petzl – particularly where it concerns their head torch product. But along has come a manufacturer to severely test that allegiance, if not break it. That said, my inventory of Petzl head torches are dear to me and will still be getting plenty of usage when applicable and also carried as light weight spares…
Having been training more and more at night, I’ve been finding that my current Petzl torch, the Swift RL, has suffered with shortish battery life. This is particularly noticeable during the colder months of the year when the battery pack is exposed to low temperatures. On a recent round of the Yorkshire Three Peaks, I replaced the battery three times in under eight hours, despite using the torch on only its middle power setting.
A bunch of outdoor colleagues have sworn by the Welsh manufacturer Fenix UK, so I contacted their marketing officer Jamie Bowen who was incredibly helpful and advised that the latest version of their trail running specific head torch, the HM65R-DT would be my best bet. Several friends active in the mountaineering world have the tried and tested HM65R model which differs slightly and has a full ‘around and over the head’ strap system unlike the headband only DT version. It’s worth pointing out that now (as of December 2024), there’s a new version of the torch called the HM65R-T v2 which is pictured and looks slightly different to the one reviewed here.
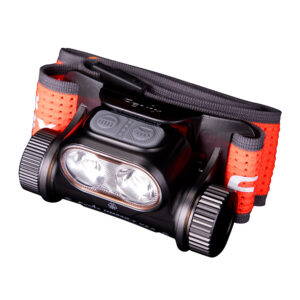
Key to my needs is the HM65R-DT’s battery which is removable and rechargeable both in and out of the torch provided you buy the additional smart charger. It’s a 3400 mAh lithium-ion button top battery that looks like a huge AA type and apart from being over 1000 mAh higher in capacity than the Swift battery, it’s cheap to replace or buy more spares. There are also two 3500 mAh versions available, one of which can be connected directly to a regular phone charger or power pack. Fenix claim a 12 hour life for the torch while running at a constant 400 lumens and this seems to be backed up by various unrelated reviewers. Given that 400 lumens is more than adequate for most running and hiking needs, I’m expecting to get a full winter’s night’s activity completed on about one and a half batteries with ease. To be honest, I’ve used it on the moors quite happily set to just 130 lumens with the odd burst of 400 and 1300 lumens to spot distant features, so I can easily imagine a full night with no need for a battery change.
This brings me on to the head torch itself. First impressions are of its almost industrial build quality – it’s highly unlikely that you’ll break this beastie in a hurry! Slight downside to this durability is the unit’s weight compared to the smaller and lighter Swift but it’s something you seem to get used to quite quickly. The body is built from magnesium alloy and the whole torch is IP68 dust and waterproof rated – a very reassuring quality for UK use, as is its two metre drop resistance. The Petzl Swift RL is IPX4 – a lower rating that doesn’t cover total immersion from say, being dropped in a stream.
Looking to the front of the Fenix unit, you’ll see two distinct and separate lamps. This is where it takes a little time to get your head around what’s what, but bear with me…
Fenix don’t go in for adaptive or reactive lighting such as features on several Petzl models and to be honest, this is no great loss in my humble opinion. The main purpose behind such technology is to save battery life by attempting to never oversupply more brightness than is needed. In reality, I still find myself fiddling around with the Swift’s various settings to get an optimum beam, so it hasn’t done away with the human button input entirely. This brings me back to the Fenix which provides two very unique light beam patterns and strengths from the different sized LED’s to fine tune the torch for all situations and terrains.
What you get in the HM65R-DT are separate spotlight and semi spotlight beams. I find Fenix’s description of the two beams a bit confusing but don’t worry, it doesn’t detract from the function of the torch in the slightest. But to me, a spotlight would be a narrow, focused beam and a semi spotlight more of a flood light with a wider angle. If you read Fenix’s website blurb, they describe it as the other way around – at least to my mind. So, there’s a fairly narrow angle, quite orangey coloured light running in three increments of 5, 130 and 400 lumens. You might ask what use to man or beast is five lumens but in this mode, it’ll last you till your hair turns grey or to get you home and is also good for more covert work in the absence of any red LED’s.
The idea of tinting this LED a warm, slightly orange colour, (what they call warm white) is to allow the light to penetrate rain, snow, mist and fog better without bouncing back. In practice, when bounce back or cold breath flare becomes an issue, I usually just hand hold the torch at waist level – a handy tip if you didn’t already know it! But another spin off benefit is that you always know which of the two LED’s is lit – just from the colour. Paradoxically though, it is possible to combine beams – supposedly for the best of both although in practice I don’t really see the advantage.
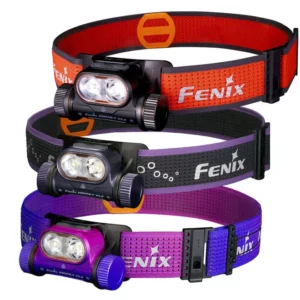 The other lamp (bright white) runs from 130 through 400 to a rabbit roasting 1300 lumens. This would be what I would consider more of a flood beam as it has a wide peripheral reach. I suspect Fenix call it a spotlight because it has a very defined edge. On their previous but still available trail running model, the HM65R-T, this beam is even wider angled. Fenix have reduced it on the HM65R-DT and I think it’s bang on for open moorland and enclosed lanes alike. The 1300 lumens setting should probably be looked on as an occasional use only asset – partly because of the inevitable drop in battery life and also because even the best quality high lumen LED’s generate a lot of heat. Consequently, the best torches (this one included) have circuitry built in to drop the power down after a period of time to prevent overheating occurring. However, this is a brilliant (pardon the pun!) weapon to have should you be searching for a navigational feature or stile on the far side of a field. Whilst talking technically, this head torch utilises circuitry that runs every brightness mode bar the lowest at its full power until the battery dies. This is far better than cheaper torches that just fade gradually as the battery weakens – the only downside is you need to monitor the battery situation to avoid being left high and dry! That said, the likelihood is that even after there’s no juice to fuel the 130 lumens and above beams, you’ll probably still get a few hours at the emergency five lumen level – will report back soon on that…
Switches for the two lamp beams are separate and sit either side of an easy to read battery level indicator. Some have mentioned the buttons being slightly fiddly but I’d rate them as more positive in feel than the Petzl Swift RL and the Petzl Reactik’s I also own. The deal maker for me over the Swift is the button locking feature to make sure they don’t switch on accidentally in your pack. The Swift has a sliding button affair which three times now has unlocked itself with movement in my rucsac, resulting in flat batteries. The Fenix uses an excellent system that involves pressing both buttons together to lock the torch in the off mode. This is a bigger deal than some might think, many years ago, a friend had a non branded LED torch cause a serious fire in his house through coming on in a pack!
Comfort and ease of adjustment is always a big part of what makes a merely good head torch excellent. In this, Fenix have gone ballistic in one sense of the word to provide a wide, comfortable, reflective and breathable headband which has a one handed BOA adjusting gizmo such as is now tried and tested on certain mountaineering boots instead of conventional laces. As fed back to Fenix, I have twin thoughts on this – certainly, for snugging up the headband around your head gear in fine increments it works fantastically. And the adjustment/release wheel is quick and easy to operate with gloves. But I’d have liked to see an option for a simple, slide adjusted headband too – sometimes in my line of work and play I have to repeatedly take off and put back on a head torch. The BOA system relies on a strong twine like cord running over the elastic headband and once in position isn’t noticeable against the head as the main strap cushions it perfectly. But it needs readjusting every time it’s re-donned and that’s a faff when doing it repeatedly. Maybe this is something Fenix could either offer as an option or even enclose with the torch so the buyer could choose?
Battery replacement is a little more fiddly in the field than the Swift but then again, I’m not expecting to be doing it very often! For regular use, the supplied battery will be all most people need for their activities and when back at base, the head torch as a whole can be plugged in to your favourite USB wall charger using the supplied USB C cable. No need to remove the battery at all for most applications. But if like me, you might be needing light for 14 to 15 hours during winter nights, spare batteries such as the original cost only £22 – a far cry from the Petzl Swift’s spare battery RRP of £55 or thereabouts! But a tip from me would be to buy the slightly more powerful (and expensive at £27) Fenix 3500 mAh USB Micro battery which can be charged using your regular phone charger or power pack and then carried as a spare.
To summarise, I’m completely sold on the Fenix HM65R-DT and it’s going to be my go-to head torch now for many activities. Don’t let the ‘trail running’ label on the product prevent you buying it if hiking only is your thing, although you could look at the standard HM65R also. Price is competitive at an RRP of £110.95 for such a high spec product and it’ll likely serve you for many years. There’s also an engraving service for £2.99 so you can have your name and mobile etched on the body in case of losing it.
So, loads of positives to fire you up, and the one minor niggle in my mind is the lack of a simple head band as an option for certain uses.
Click here for more information.

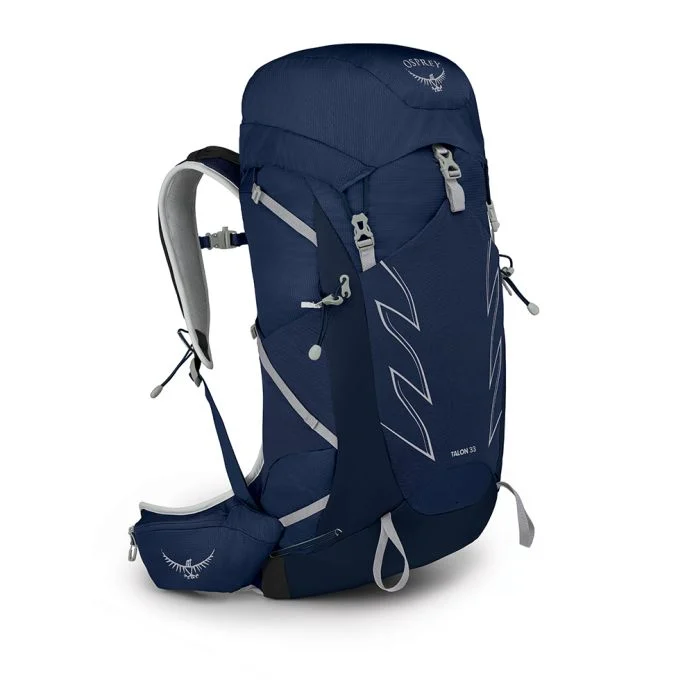
 The Talon 33 is a traditionally designed pack in that it top loads – most other sizes in the Talon series utilise zips for access. For me, a zip is potentially just another thing to fail – a strapped top lid is foolproof and durable. Many modern technical packs these days don’t feature traditional side pockets to keep them compact in shape and the Talon 33 reflects that but has a large stretch stash pocket on the front of the pack and smaller mesh ones on each side. The first is great for stuffing a shed clothing layer into for easy access when you cool off and I’ve used the side ones for my Kahtoola Microspikes and to keep poles in place although they will need covers on the spikes.
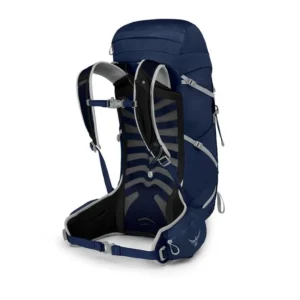 The harness is micro adustable for every back size although you do need to initially pick from either a Small/Medium or Large/Extra Large. Fine tuning after that is achieved with a very clever floating shoulder system which velcros into the position of your choice and then stays silent and immovable. There’s just one compartment in the main body of the pack – I use an Exped pack liner to guarantee that my contents are kept waterproof. However, on the lid, there are two zipped pockets – one on top and one hidden underneath. These are superb for essentials such as snack bars, a head torch, midge repellent, first aid kit, hat and gloves etc – ie, the things you might need to get at quickly. Once again, I use a smaller Exped liner to protect the the top lid pocket. You can buy ‘waterproof’ rucsac covers but I’m not a huge fan as rain can still find its way in around the area next to your back and they can flap badly in the wind.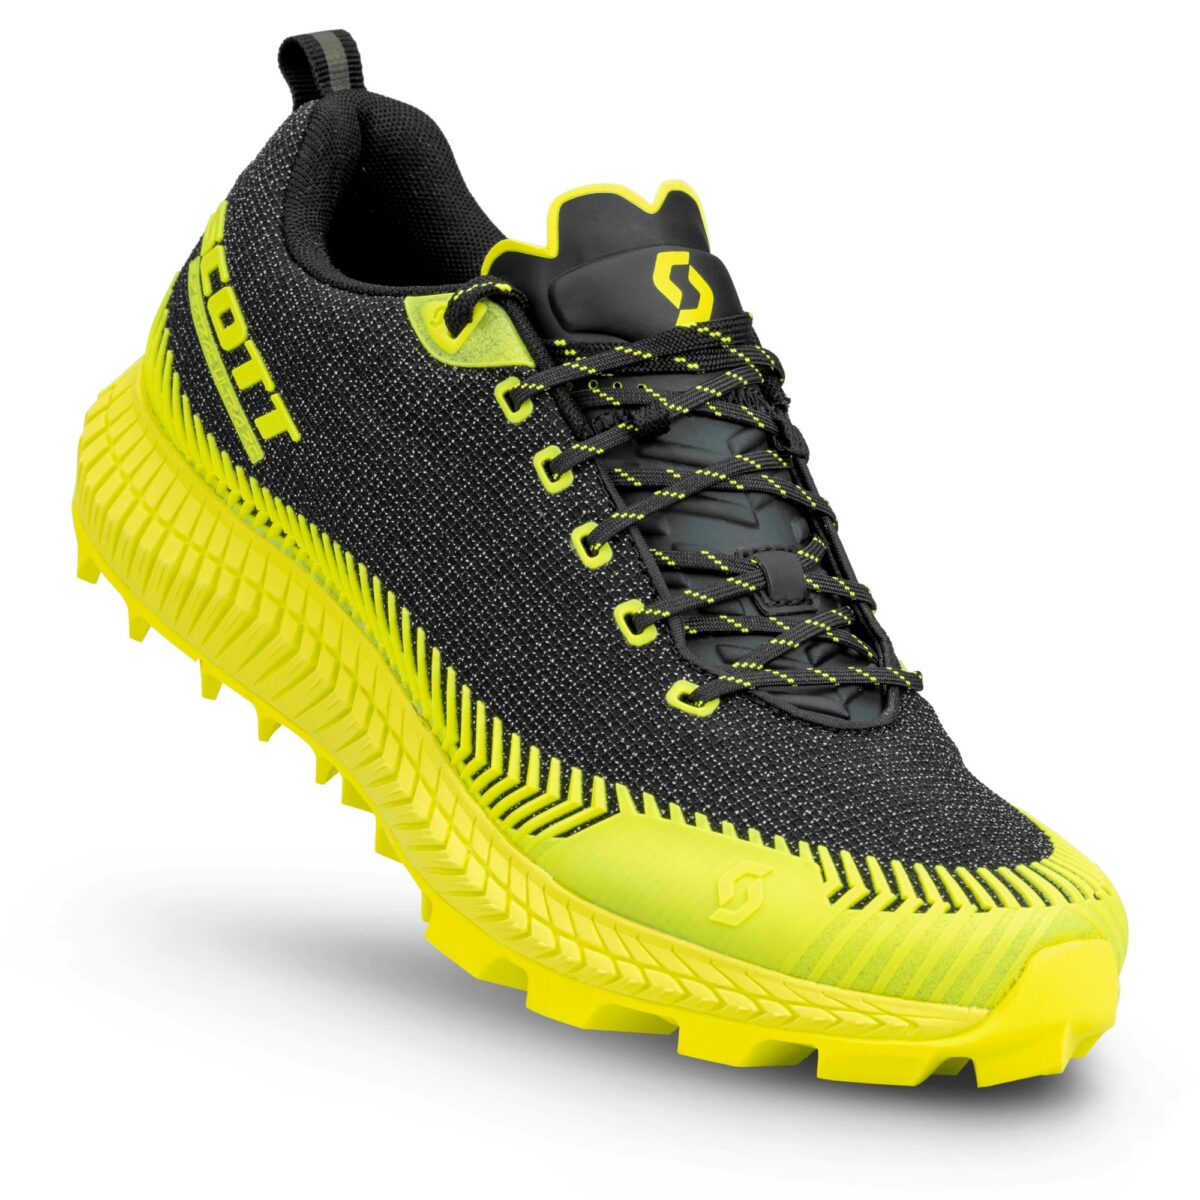
 I bought my first set of Scott trail shoes over seven years ago and right from the off they felt better than anything I’d run in before. Because of injuries resulting in damaged ligaments and shortened muscle/tendon groups I can no longer get on with minimally cushioned, low drop running footwear such as the Inov8 shoes I’ve used in previous years. In fact, they’ve considerably worsened the problems I have although on people with a different physiology they can be superb.
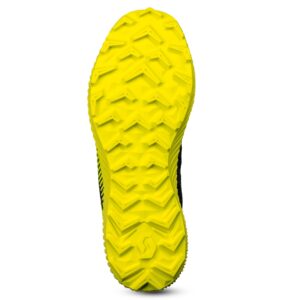 I’d often looked at Hoka’s trail shoe offerings and now have a pair of Speedgoats which have their much publicised mid rockered sole unit. The Scott Supertrac 3 doesn’t feel dissimilar to be honest, you experience that rolling/propelling effect which is slightly alien to start with but quickly becomes unnoticeable and indeed advantageous. Those folk with pain or fusion problems affecting their big toe (hallux limitus etc.) will appreciate the stiffer midsole which demands less flexion from the offending toe joint.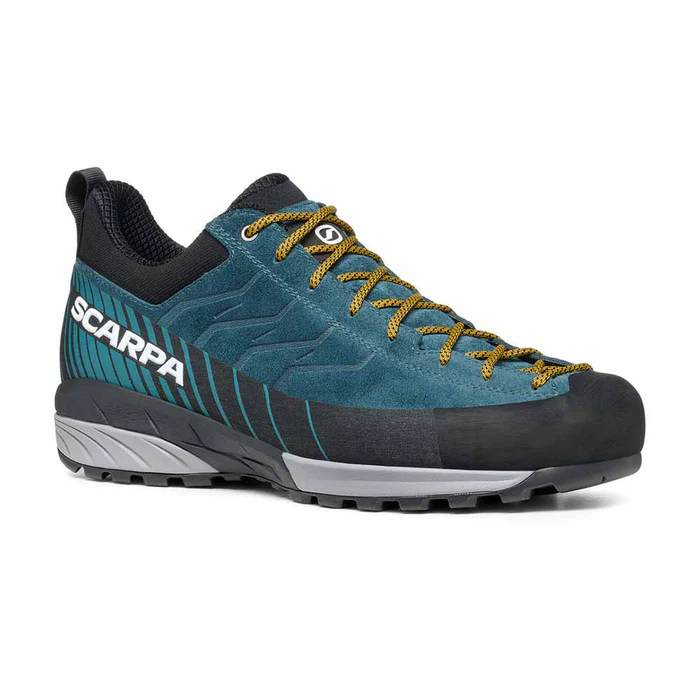
 I’m a big fan of approach type footwear and tend to wear this type of shoe both on and off the hill. Prior to discovering the Scarpa Mescalito a few years ago, I’d been mainly wearing Haglof’s excellent Vertigo – they were tough and being Goretex lined, very weatherproof. But they were never super comfortable due to the stiff sole unit and thick, fairly inflexible leather upper. Like a heavy leather boot, they needed wearing a lot before they softened and moulded to the individual foot – even if carefully fitted.
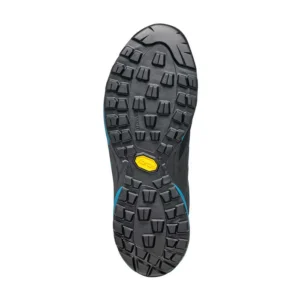 The Vibram Megagrip outsole is made from a high performance yet durable rubber compound and works really well on rocky surfaces. The term ‘approach shoe’ was coined years ago to denote a shoe you’d walk to the base of a climb in before changing to more technical footwear. I’ve been confident enough with this shoe to scramble up to grade 3 and even do an easy impromptu solo climb or two with when walking by our local crag with Gyp the dog.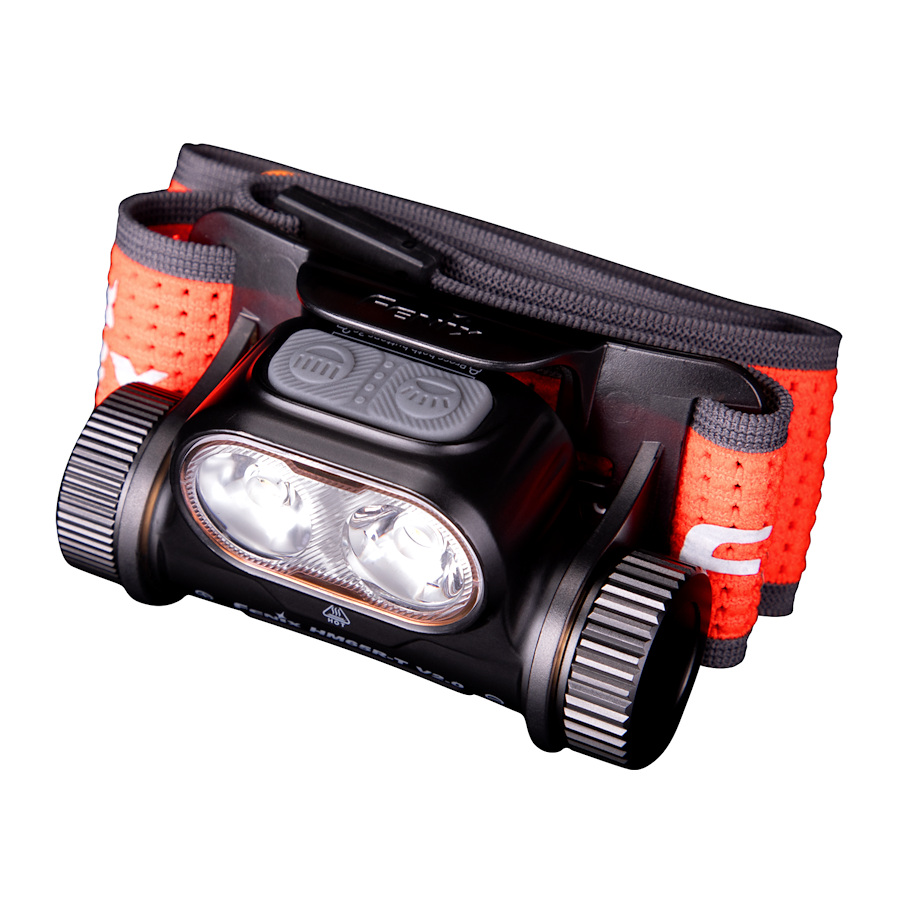
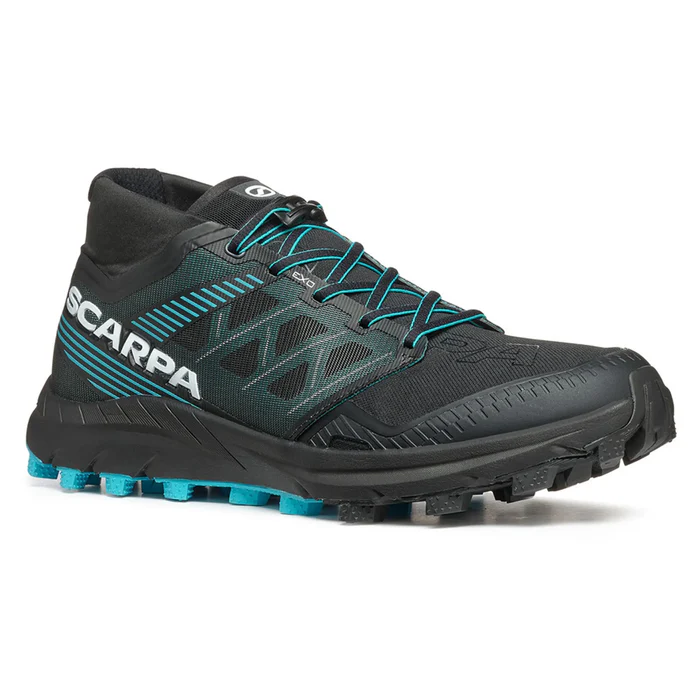
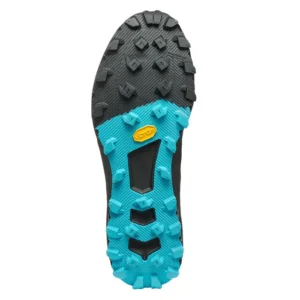 For an old boy like me, the need for a shoe to pile downhill fast passed me by many years ago. But everyone will appreciate the awesome traction and grip of this shoe for descending – whether on mud, wet grass, slimy slabs, fresh snow or rock. The compound of the Vibram outsole is stickier than anything I’ve tried previously and as long as you’re not doing big miles on the tarmac to get to the off road stuff, shouldn’t wear too quickly. Our biggest nemesis on the tops around Marsden are the miles of slabs laid on the Pennine Way that when damp can feel like running on ice in most footwear. I’ve used screw in studs on other shoes in the past but the Spin ST’s are surprisingly secure once scrubbed in a bit.